


Ultimate Guide to Graphics in ROM Hacks
ROM hacks let fans modify classic games, improving visuals, gameplay, and more. This guide dives into graphics editing, tools, and techniques used to transform retro games. Whether you're recoloring sprites, updating tiles, or overhauling entire maps, here's what you need to know:
-
Tools for Graphics Editing:
- YY-CHR: Edits sprites and tiles for NES/SNES games.
- Tile Molester: Extracts and modifies graphics in nonstandard formats.
- Advance Map: Redesigns maps for Pokémon hacks.
-
Techniques for Visual Updates:
- Palette Swapping: Changes colors without redrawing sprites.
- Sprite Repointing: Adjusts memory locations for larger custom graphics.
- Background Updates: Uses TSA (Tile Squaroid Assembler) to redesign environments.
-
Examples of ROM Hacks with Updated Graphics:
- Pokémon Unbound: Features dynamic palettes and polished animations.
- Pokémon Adventure Red Chapter: Adds character portraits and modernized UI.
- Ninja Gaiden Shadow DX: Introduces full-color visuals to a Game Boy classic.
With the right tools and techniques, you can modify graphics to breathe new life into retro games. Whether for digital play or physical cartridges, these updates ensure a polished experience while respecting the original hardware's limits.
Learn how to ROM hack GameBoy games and edit the graphics!
Tools for Editing ROM Graphics

ROM Graphics Editing Tools Comparison: Features and Best Use Cases
Choosing the right tool depends on your specific goal - whether you're tweaking sprites, extracting hidden graphics, or reworking overworld maps. Below, let’s break down some of the key tools designed for precise ROM graphics editing.
Early gaming consoles relied on 8x8-pixel tiles as the foundation for all graphics. These tiles form the basic building blocks of every image you see on the screen. This is why specialized editors are indispensable when working with retro games.
YY-CHR for Sprite and Tile Editing
YY-CHR is a free, cross-platform tile editor tailored for retro systems like the NES and SNES. It allows you to view the graphics data from a ROM in one window while editing tiles directly in another using an 8x8 pixel grid. This grid mirrors the limitations of vintage hardware, making YY-CHR perfect for creating pixel-perfect edits.
The program is intentionally simple - no layers, no advanced effects, just straightforward pixel editing. This minimalism keeps your focus on creating graphics that are compatible with the original hardware.
Tile Molester for Graphics Extraction
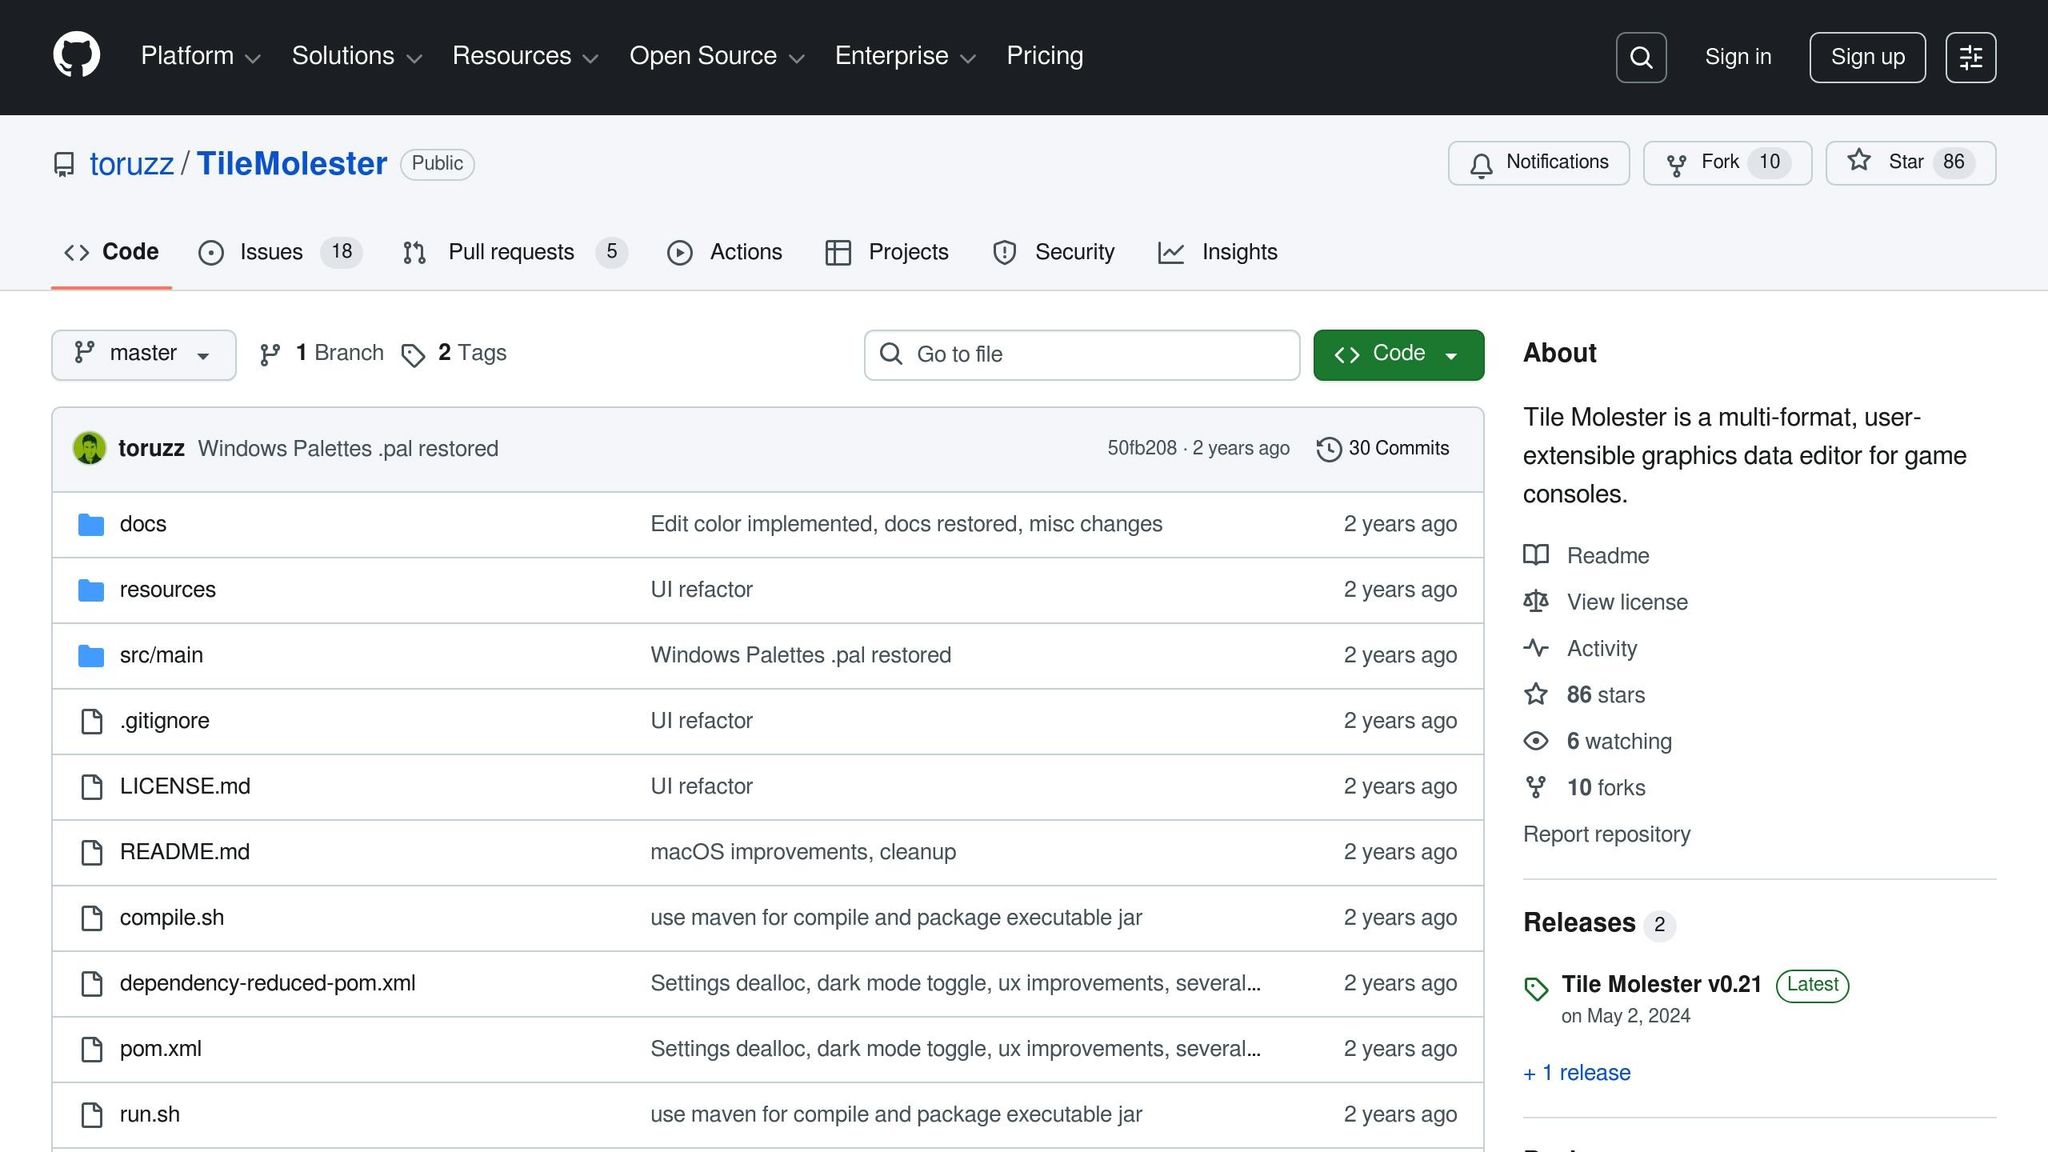
If you're working with ROMs that store visual data in unusual ways, Tile Molester is your go-to tool. It specializes in extracting and modifying graphics from nonstandard formats, helping you uncover hidden or unconventional assets.
Different consoles handle graphics in distinct ways - for instance, NES palettes rely on predefined colors, while systems like the SNES or Sega Genesis use absolute RGB values. Tile Molester’s ability to interpret these varying data structures makes it a must-have for extracting and editing graphics from diverse ROM formats.
Advance Map for Overworld Graphics
For Pokémon ROM hacks, particularly those from Generation III, Advance Map is the tool of choice. It allows you to assemble pre-made tiles into overworld maps and manage game logic, such as movement paths and event triggers. Pair it with tools like Advance Palette Editor or Nameless Sprite Editor for a complete graphics overhaul.
| Tool | Primary Function | Best Used For |
|---|---|---|
| YY-CHR | Pixel-level sprite and tile editing | Altering character or object graphics |
| Tile Molester | Graphics extraction and modification | Accessing and editing nonstandard visual assets |
| Advance Map | Overworld layout and logic mapping | Redesigning maps and managing in-game events |
Graphics Replacement Techniques
Once you've got the right tools, it's time to dive into updating your ROM's visuals. These techniques will help you replace and refine graphics, giving your game a fresh look.
Palette Swapping and Color Adjustment
Palette swapping is a straightforward way to refresh a game's appearance without redrawing sprites. This involves changing the hex values that define the colors within the ROM. For example, on the NES, each 8x8 tile uses a four-color palette, where the first color is transparent. Systems like the SNES and Genesis take it a step further by storing absolute RGB values, which gives you more flexibility in color choices.
To find and edit a palette, use an emulator with a built-in palette viewer. Tools like FCE Ultra or NESticle allow you to view the exact hex values of the colors on screen. Once you've identified the hex sequence, locate it in your hex editor. If you can't find it, try dropping the first color (commonly 0F for black or transparent on NES), as it might be stored separately.
A great example of palette swapping in action comes from a 2016 showcase on PokéCommunity, where updated tilesets were created for Pokémon hacks. In GBA Pokémon games, palettes are split into main graphics (Tileset0) and secondary graphics (Tileset1). Adjusting these palettes can completely change the visual tone of the game.
Once your palette changes are done, you might need to address memory limitations by repointing sprite data.
Sprite Repointing and Managing Compression
When custom graphics exceed the original memory allocation, they won't fit in the same location. This is where sprite repointing comes into play. Repointing involves moving the sprite data to a new memory location and updating the pointer (a memory address) that tells the game where to find it.
On NES ROMs, pointers use a little-endian format, meaning the bytes are reversed. For instance, a pointer to address 0x825C would appear as 5C 82 in the ROM. To repoint, locate free space in the ROM - this is often large blocks of 00 or FF near the end. Move your custom graphics there, then update the pointer to reflect the new location. Keep in mind that NES ROMs typically have a 10-byte header, so include that in your offset calculations.
"Pointers tell the game where specific information is in RAM so it can access this data. Editing pointers can be fairly useful if you're trying to open up unused space or transfer space from one use to another." - Vagla, Author of The Art of ROM Hacking
If your graphics appear corrupted or can't be located in a tile editor, they might be compressed. On the Game Boy Advance, for instance, many graphics use the LZ77 compression format. Battle animations are often compressed, while simpler icons may not be. To handle this, use tools like Nintenlord's compressor or Grit to decompress the data, make your edits, and then re-compress it for insertion. Always keep multiple backups - errors in repointing or compression can corrupt the entire ROM.
Once sprites are repointed, you can shift your focus to updating backgrounds and tilesets for a cohesive visual upgrade.
Background and Tileset Updates
Backgrounds and tilesets are composed of 8x8-pixel tiles arranged using a system called TSA (Tile Squaroid Assembler). TSA guides the hardware on how to place tiles to create larger images. This method conserves memory by reusing tiles across the screen.
Updating backgrounds involves replacing both the 8x8 tiles and their arrangement data (TSA). Some games, like Metroid and Kid Icarus, use specialized formats like VSSA for irregular structures. By editing TSA data, you can redesign how the game constructs its environments without modifying the underlying code.
On the GBA, backgrounds are typically static images and rely on TSA for mapping tiles to the screen. In contrast, sprites (movable objects) are positioned based on pixels rather than a tile grid. For tileset replacements, tools like TileHelperAdvance can convert images into compatible formats. When preparing your tiles, set the background color to a neutral, easily identifiable shade like pink to manage transparency effectively.
ROM Hacks with Improved Graphics
Upgraded graphics breathe new life into classic ROM hacks, blending the nostalgic appeal of retro games with a touch of modern flair. Here are some standout examples that showcase how visual enhancements can elevate the gaming experience while respecting the essence of the originals.
Pokemon Unbound: Updated Sprites and Customization
Built on the CFRU engine, Pokemon Unbound takes graphics to the next level with features like extensive character customization, polished move animations, and dynamic overworld palettes that shift based on time and location.
"Graphics can mean a lot for most players, and apparently, some old games such as those that can be played on the GBA is becoming less interesting due to their outdated graphical capabilities." – Taichee, PokemonCoders
Pokemon Adventure Red Chapter: Portraits and Modern Updates
Pokemon Adventure Red Chapter introduces a host of visual upgrades, including character portraits, a functional day-night cycle with custom tilesets, and a "follow-me" Pokémon script. The game also boasts a revamped user interface with detailed EV/IV stat screens and modernized fonts. On top of that, the level cap has been increased from 100 to 255, offering players a more expansive experience.
Pokemon Ultra Shiny Gold Sigma: Crystal-Inspired Graphics
Pokemon Ultra Shiny Gold Sigma, built on FireRed, incorporates a visual style reminiscent of Pokemon Crystal. It features custom tilesets, themed roof palettes, and unique overworld sprites. The game reworks over 800 Pokémon sprites, adds colored party menu icons for all 251 original Pokémon, and seamlessly blends nostalgic aesthetics with expanded content.
"It's a well-known fact that a game with good graphics stands out better than those classic old ones, making it more interesting to play." – Taichee, PokemonCoders
sbb-itb-9a4764e
Step-by-Step Graphics Implementation
Adding custom graphics to a ROM hack involves a careful and structured process. The first step is extracting the original graphics from the ROM. Tools like GBE+ or specialized emulators are great for dumping background (BG) and object (OBJ) tiles. This step creates the groundwork for making the graphic changes outlined earlier.
Once extracted, the graphics are stored as tiles - usually in sizes of 8x8 or 16x16 pixels. To edit these tiles at the pixel level, you can use programs like YY-CHR or Tile Molester. Keep in mind that tiles are managed through two components: Pattern Tables (which handle pixel data) and Name Tables (which manage layout). If you're editing a sprite, you'll need to update both of these components.
On older consoles like the SNES, color data is stored in Color RAM (CGRAM) using a strict 15-bit BGR format. While tile editor changes are visible immediately, permanent changes require direct edits to the palette data in the ROM. Tools like IrfanView with PNG plugins can help with this process.
When working with repointing and compression (as discussed earlier), it’s essential to ensure your custom graphics stay within the console's hardware limits. For instance, the SNES has a VRAM limit of 64 KB and supports a maximum of 128 sprites through its Object Attribute Memory (OAM). Exceeding these limits could lead to flickering or even crashes. To avoid surprises, always test your hack using cycle-accurate emulators like Higan.
One critical tip: avoid relying on save states during testing, as they can cache outdated graphics. Instead, restart the ROM or trigger a screen transition to ensure your updates display correctly. And, of course, always back up your ROM before making any edits - errors during hex editing can easily corrupt your files.
Custom Graphics for BJ's Game Vault Cartridges
Once the digital graphics are finalized, transferring these updates into physical game cartridges demands precise hardware adjustments to ensure everything runs smoothly.
Adding Graphics to NES, SNES, and GBA Games
BJ's Game Vault integrates custom graphics into reproduced cartridges by starting with a thorough verification of the ROM files. This process uses cycle-accurate emulators like higan and tools such as uCon64 to determine the hardware requirements. Key considerations include the Bank Type (HiROM or LoROM), SRAM size, and compatibility with NTSC or PAL systems.
To maintain the integrity of vintage games, BJ's Game Vault employs custom PCBs capable of supporting ROM sizes up to 64 Mbit. The graphical data is stored on EPROMs like 27C801, 27C160, or 27C322, which must meet a minimum 120 ns access time to work seamlessly with SNES hardware. Once the ROM is finalized, tools such as SNES ROM Utility are used to fix checksums and remove unnecessary headers. The data is then programmed onto memory chips using devices like the TL866 MiniPro or GQ-4x4. Before final assembly, the chips are tested on a prototyping board that allows for easy swapping without soldering, ensuring flawless operation on the original hardware. After programming, the EPROM's clear window is covered with tape to protect it from light-induced data corruption.
Testing ROM Hacks for Hardware Compatibility
Once cartridges are assembled, rigorous testing ensures the custom graphics work perfectly on the original hardware.
The first step is to verify compatibility using high-accuracy emulators like bsnes for SNES games. As noted by MottZilla, a member of the SNESdev Forum:
"If it works in BSNES, there's a pretty good chance it will work on the real SNES."
Final testing involves running the patched ROMs directly on original hardware. This can be achieved using flash cartridges or by replacing ROM chips with programmed EPROMs or FlashROMs. To avoid glitches or crashes, automated hash checks (CRC32, MD5, or SHA-1) confirm that the patches align perfectly with the correct base ROM version. Additional tests include measuring input-to-screen latency on CRT televisions and verifying memory integrity during hardware-clocked interrupts. These steps ensure the custom graphics deliver a seamless retro gaming experience .
Compatibility Testing Overview
The table below outlines the key steps and tools involved in ensuring compatibility:
| Compatibility Step | Purpose | Recommended Tools/Methods |
|---|---|---|
| Integrity Check | Confirms patch matches the base ROM | CRC32, MD5, SHA-1 Hashes |
| Software Simulation | Tests graphics and logic in a controlled setting | bsnes (SNES), VBA-M (GBA) |
| Hardware Testing | Verifies timing and voltage compatibility | Flash Carts, EPROM Burners |
| Graphic Insertion | Ensures tiles and palettes load without issues | Tile Molester, Advance Map 1.92 |
This detailed process ensures that BJ's Game Vault can bring digital ROM updates to physical cartridges while maintaining the authentic feel of retro gaming.
Conclusion
Graphical updates have transformed ROM hacks, turning them into visually stunning experiences that can hold their own against official game releases. By introducing full-color support to grayscale classics, eliminating hardware-related flickering, and adding character portraits and custom animations, these upgrades breathe fresh life into cherished retro games.
Take, for instance, the work of developer marc_max, who in December 2025 released Ninja Gaiden Shadow DX for the Game Boy. This remastered version brought full-color visuals to all five stages of the game, creating a vibrant new experience for fans. Similarly, Allo's TMNT: Tournament Fighters "GRANDMASTERS" Edition for the SNES showcases the depth of modern ROM hacking. After more than a year of intricate ASM programming, the game now features body portraits, detailed character profiles, and animated ending sequences that seamlessly blend with the original’s style. These projects highlight the impressive scope and creativity behind today’s graphical overhauls.
Beyond digital updates, these innovations extend to physical cartridges as well. BJ's Game Vault bridges the gap between digital enhancements and tangible media by rigorously testing modified cartridges on original hardware. Whether it’s integrating later-generation Pokémon sprites into older games or creating "DX" editions of handheld classics with restored color palettes, each cartridge preserves the authentic retro gaming experience while delivering updated visuals. Thanks to the combination of advanced ROM hacking techniques and expert hardware craftsmanship, players can enjoy these modernized classics on their NES, SNES, or GBA consoles without sacrificing performance or visual quality.
FAQs
What are the best tools for editing graphics in retro ROM hacks?
Editing graphics in ROM hacks calls for tools tailored to the unique formats of classic gaming consoles. Here are some of the most widely-used options:
- YY-CHR: This editor works with SNES, NES, and Game Boy Advance graphics. It’s great for tweaking tiles, palettes, and sprites, making it a go-to for pixel art adjustments.
- Tile Molester: A favorite for systems like Sega Genesis and early PlayStation, this tool includes features like palette loading, grid overlays, and undo/redo options.
- GBA Graphics Editor (GBAGE): Built specifically for Game Boy Advance projects, this tool offers advanced capabilities such as tile-map editing, compression management, and precise palette control.
These tools are essential for ROM-hacking enthusiasts, enabling them to transform their creative ideas into reality. BJ’s Game Vault supports this passion by offering custom cartridges and rare ROM hacks inspired by these techniques.
What is sprite repointing, and how is it used in ROM hacks?
Sprite repointing is a clever method used in ROM hacking to redirect a game's graphics engine so it loads custom sprite data instead of the original visuals. In retro games, visual elements like characters, enemies, and items are stored in a tile bank. A pointer table then guides the hardware on where to locate each sprite. By modifying these pointers, hackers can replace an existing sprite with a new one stored in unused ROM space - all without changing the game's core code.
The process typically involves a few key steps. First, the original sprite data needs to be located. Then, custom graphics are created or imported, ensuring they align with the console's technical requirements, such as size and color depth. Finally, the pointer table is updated to direct the game to the new sprite data. This approach opens the door to creative possibilities, like swapping characters, introducing fan-made designs, or even crafting entirely new visual themes - all while preserving the game's original functionality. Sprite repointing is widely used for graphics modifications on systems like the NES, SNES, and Game Boy Color.
What are some notable ROM hacks with upgraded graphics?
Some impressive ROM hacks that elevate classic game visuals include FF6 - Brave New World for the SNES title Final Fantasy III. This hack revamps character sprites and refreshes color palettes, giving the game a polished look. Another standout is the DavieZboy Color hack for Seiken Densetsu 3, which introduces bold, vibrant visuals and updated designs. These updates inject new energy into retro favorites, making them feel more contemporary while preserving their nostalgic charm.