


SNES CIC Chip Replacement Options
The SNES CIC chip enforces region locking, preventing cartridges from different regions from working on a mismatched console. This article explores solutions for bypassing these restrictions, including SuperCIC, PicoCIC, and the SNES Multi AIO Board, each offering region-free compatibility with varying levels of complexity and features.
Key Takeaways:
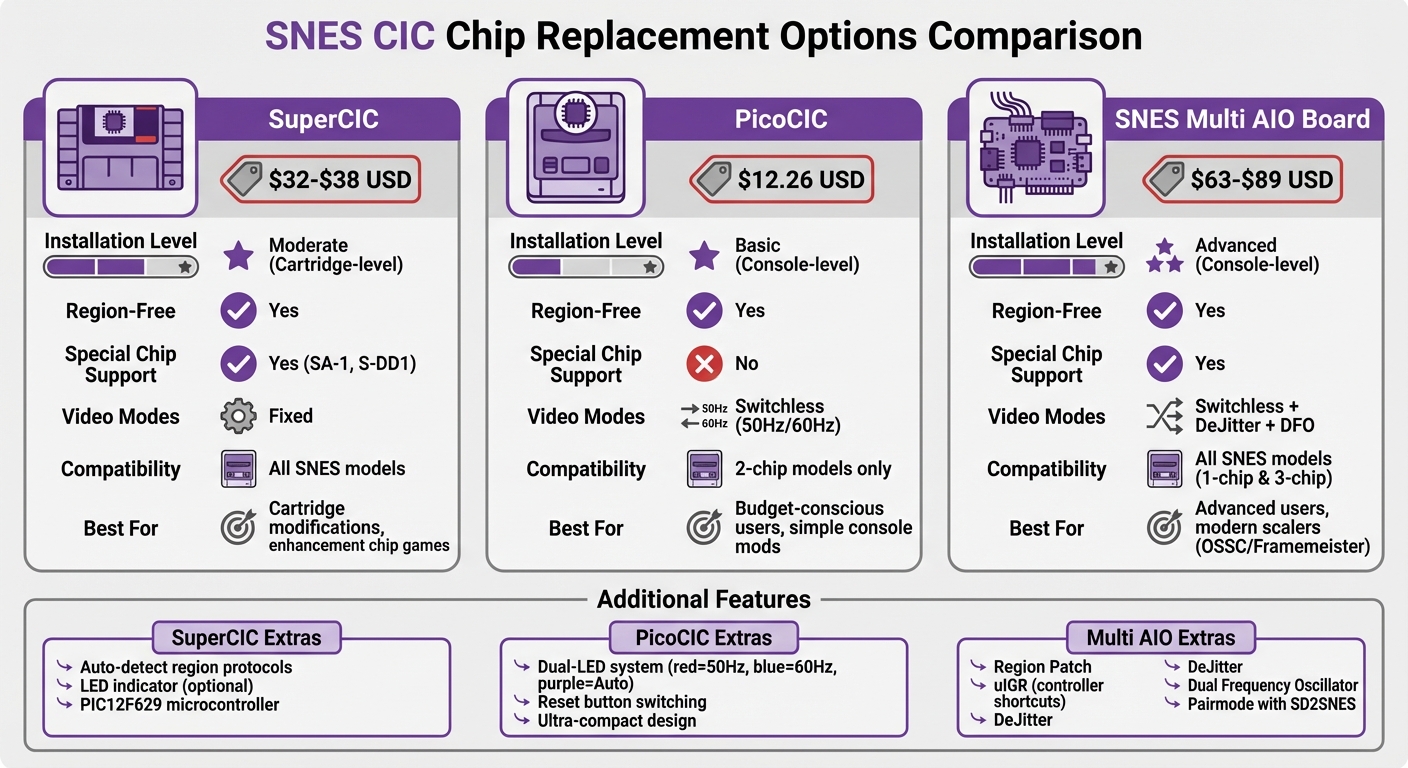
- SuperCIC: A cartridge-level solution using a PIC12F629 microcontroller. It supports NTSC-U, NTSC-J, and PAL systems, works with special game chips (e.g., SA-1, S-DD1), and requires moderate soldering skills.
- PicoCIC: A console-level modification compatible with 2-chip SNES models. It enables region-free gaming with switchless video mode selection (50Hz/60Hz) via the reset button.
- SNES Multi AIO Board: A comprehensive mod with features like region patching, DeJitter, and Dual Frequency Oscillator for all SNES models. It’s ideal for advanced users but demands expert soldering skills.
Quick Comparison:
| Feature | SuperCIC | PicoCIC | SNES Multi AIO Board |
|---|---|---|---|
| Region-Free | Yes | Yes | Yes |
| Special Chip Support | Yes (SA-1, S-DD1) | No | Yes |
| Video Modes | Fixed | Switchless (50Hz/60Hz) | Switchless + DeJitter |
| Installation | Moderate (Cartridge) | Basic (Console) | Advanced (Console) |
| Compatibility | All SNES models | 2-chip models only | All SNES models |
| Price | $32–$38 USD | $12.26 USD | $63–$89 USD |
Whether you're modifying a cartridge or the console itself, these options provide solutions for playing imported or region-locked games on the SNES.
SNES CIC Chip Replacement Options Comparison: SuperCIC vs PicoCIC vs Multi AIO Board
Modding my SNES with RetroSix PicoCIC - Unlocking FULL SPEED Gaming for £12
SuperCIC Replacement Chip
The SuperCIC is a replacement for the original SNES lockout chip, built around a PIC microcontroller and developed by ikari_01. For cartridge installations, it uses a PIC12F629 microcontroller loaded with the supercic-key.hex firmware. This chip performs the full security handshake needed by games featuring enhancement chips like SA-1 and S-DD1. Without proper CIC communication, titles such as Super Mario RPG and Street Fighter Alpha 2 simply won’t boot. Its universal compatibility makes it an excellent choice for creating region-free cartridges.
One standout feature is its ability to automatically detect and switch between region protocols until it matches the correct one. It supports NTSC-U, NTSC-J, and PAL regions, offering a truly universal solution.
Another optional feature is the LED indicator on pin 3 of the PIC12F629, which can display the chip’s current status. However, since the LED isn’t visible once the cartridge is assembled, most installations leave this out. Now, let’s take a closer look at the installation process and the tools you’ll need to integrate the SuperCIC into your cartridge.
Installation Steps and Required Tools
Installing the SuperCIC requires intermediate soldering skills and some basic tools. Here’s what you’ll need:
- A universal PIC programmer, such as the TL866
- A PIC12F629 microcontroller
- A soldering iron with flux
- Wire cutters
Start by programming the PIC12F629 with the supercic-key.hex firmware. Then, carefully remove the original 8-pin CIC chip from the cartridge PCB. You can either desolder it entirely or cut the pins and remove them one by one.
If you’re using the DIP (Dual In-line Package) version of the PIC12F629, you’ll need to trim the pins to ensure it fits within the cartridge shell. Once the chip is programmed and trimmed, solder it to the PCB pads where the original CIC chip was located. To keep it secure, use a bit of hot glue or electrical tape. This step is important to prevent the chip from moving, which could cause connection issues or damage during use.
SuperCIC Advantages and Drawbacks
The SuperCIC stands out because it handles games that standard region-free converters can’t, especially those using SA-1 chips. This ensures reliable booting for enhancement chip games across all regions. However, using the correct firmware file is critical - the supercic-key.hex firmware is specifically designed for cartridge installations.
That said, the installation process isn’t without challenges. It requires a steady hand and experience, as soldering to small PCB pads can be tricky. The difficulty level for this DIY modification is rated at around 60%. Space constraints inside the cartridge can also be an issue, particularly when working with DIP packages that have longer pins. Another limitation is that the SuperCIC doesn’t address software-based region locks, such as those relying on 50Hz vs. 60Hz video frequencies. For example, games like Donkey Kong Country might still need additional patches to work properly.
| Feature | Original CIC Chip | Disabled CIC (Pin 4 Lift) | SuperCIC Replacement |
|---|---|---|---|
| Region Support | Single Region Only | Region-Free (mostly) | Region-Free (Universal) |
| SA1/S-DD1 Support | Yes (Matching Region) | No (Handshake Fails) | Yes (All Regions) |
| Installation | Factory Installed | Easy (Lift 1 Pin) | Intermediate (Soldering/Programming) |
| Boot Reliability | High | Low (Some games block) | High |
PicoCIC Mini Board
The PicoCIC Mini Board offers a different approach to bypassing region locking on SNES/Super Famicom consoles. Instead of modifying individual cartridges, it directly alters the console itself by replacing the internal CIC chip. This modification interacts with the console’s Picture Processing Unit (PPU) to enforce the correct video frequency for gameplay. Like the SuperCIC, the PicoCIC ensures region-free gaming, but it does so by modifying the console hardware rather than relying on cartridge-level solutions.
Installing the PicoCIC involves removing the original CIC chip and carefully lifting PPU pins 24 (PPU1) and 30 (PPU2). These pins need to be soldered to the PicoCIC pad. Its switchless design makes it easy to switch regions - just hold the reset button for more than half a second. A dual-LED system signals the selected video mode: red for 50Hz, blue for 60Hz, and purple for Auto-Detect.
The PicoCIC is priced at $12.26 USD through RetroSix in the U.S. and €16.90 in Europe. However, it’s only compatible with 2-chip SNES/SFC models, meaning it won’t work with 1-chip console revisions. Installation requires basic soldering skills and tools like a 4.5mm Gamebit screwdriver, a temperature-controlled soldering iron, desoldering tools, and either a small hook or razor blade for precision work. This internal mod complements cartridge solutions by delivering a seamless, region-free experience.
PicoCIC Main Features
The PicoCIC ensures full compatibility with imported games across NTSC-U, NTSC-J, and PAL regions. Its compact design fits perfectly into the original CIC chip’s footprint, making it the smallest region-free modification available for the SNES. The included LED, pre-soldered with wires and resistors, simplifies the installation process.
It supports three video modes to cover all regions: 50Hz for PAL games, 60Hz for NTSC titles, and an Auto-Detect mode that automatically adjusts based on the game. This Auto-Detect feature eliminates the hassle of manually switching modes when changing between regional games.
PicoCIC vs Original CIC Chip
Here’s how the PicoCIC stacks up against the factory-installed CIC chip:
| Feature | Original CIC Chip | PicoCIC Mini Board |
|---|---|---|
| Physical Size | Standard 18-pin chip | Ultra-compact board |
| Region Support | Region-locked (NTSC or PAL) | Region-free; works with all imports |
| Video Modes | Fixed 50Hz or 60Hz | Switchless 50Hz, 60Hz, Auto-Detect |
| Installation | Factory-installed | Requires soldering and lifting PPU pins |
| Compatibility | All SNES/SFC models | 2-chip models only; not for 1-chip |
| User Interface | None | Reset button cycling with LED indicators |
The main limitation of the PicoCIC is its incompatibility with 1-chip SNES revisions. If you own one of these newer models, you’ll need to explore alternative CIC replacement options. For 2-chip systems, though, the PicoCIC offers a reliable, console-level solution that works with every game cartridge. While different CIC modifications take unique approaches, they all aim to achieve the same goal: universal compatibility for your gaming library.
sbb-itb-9a4764e
SNES Multi AIO Board
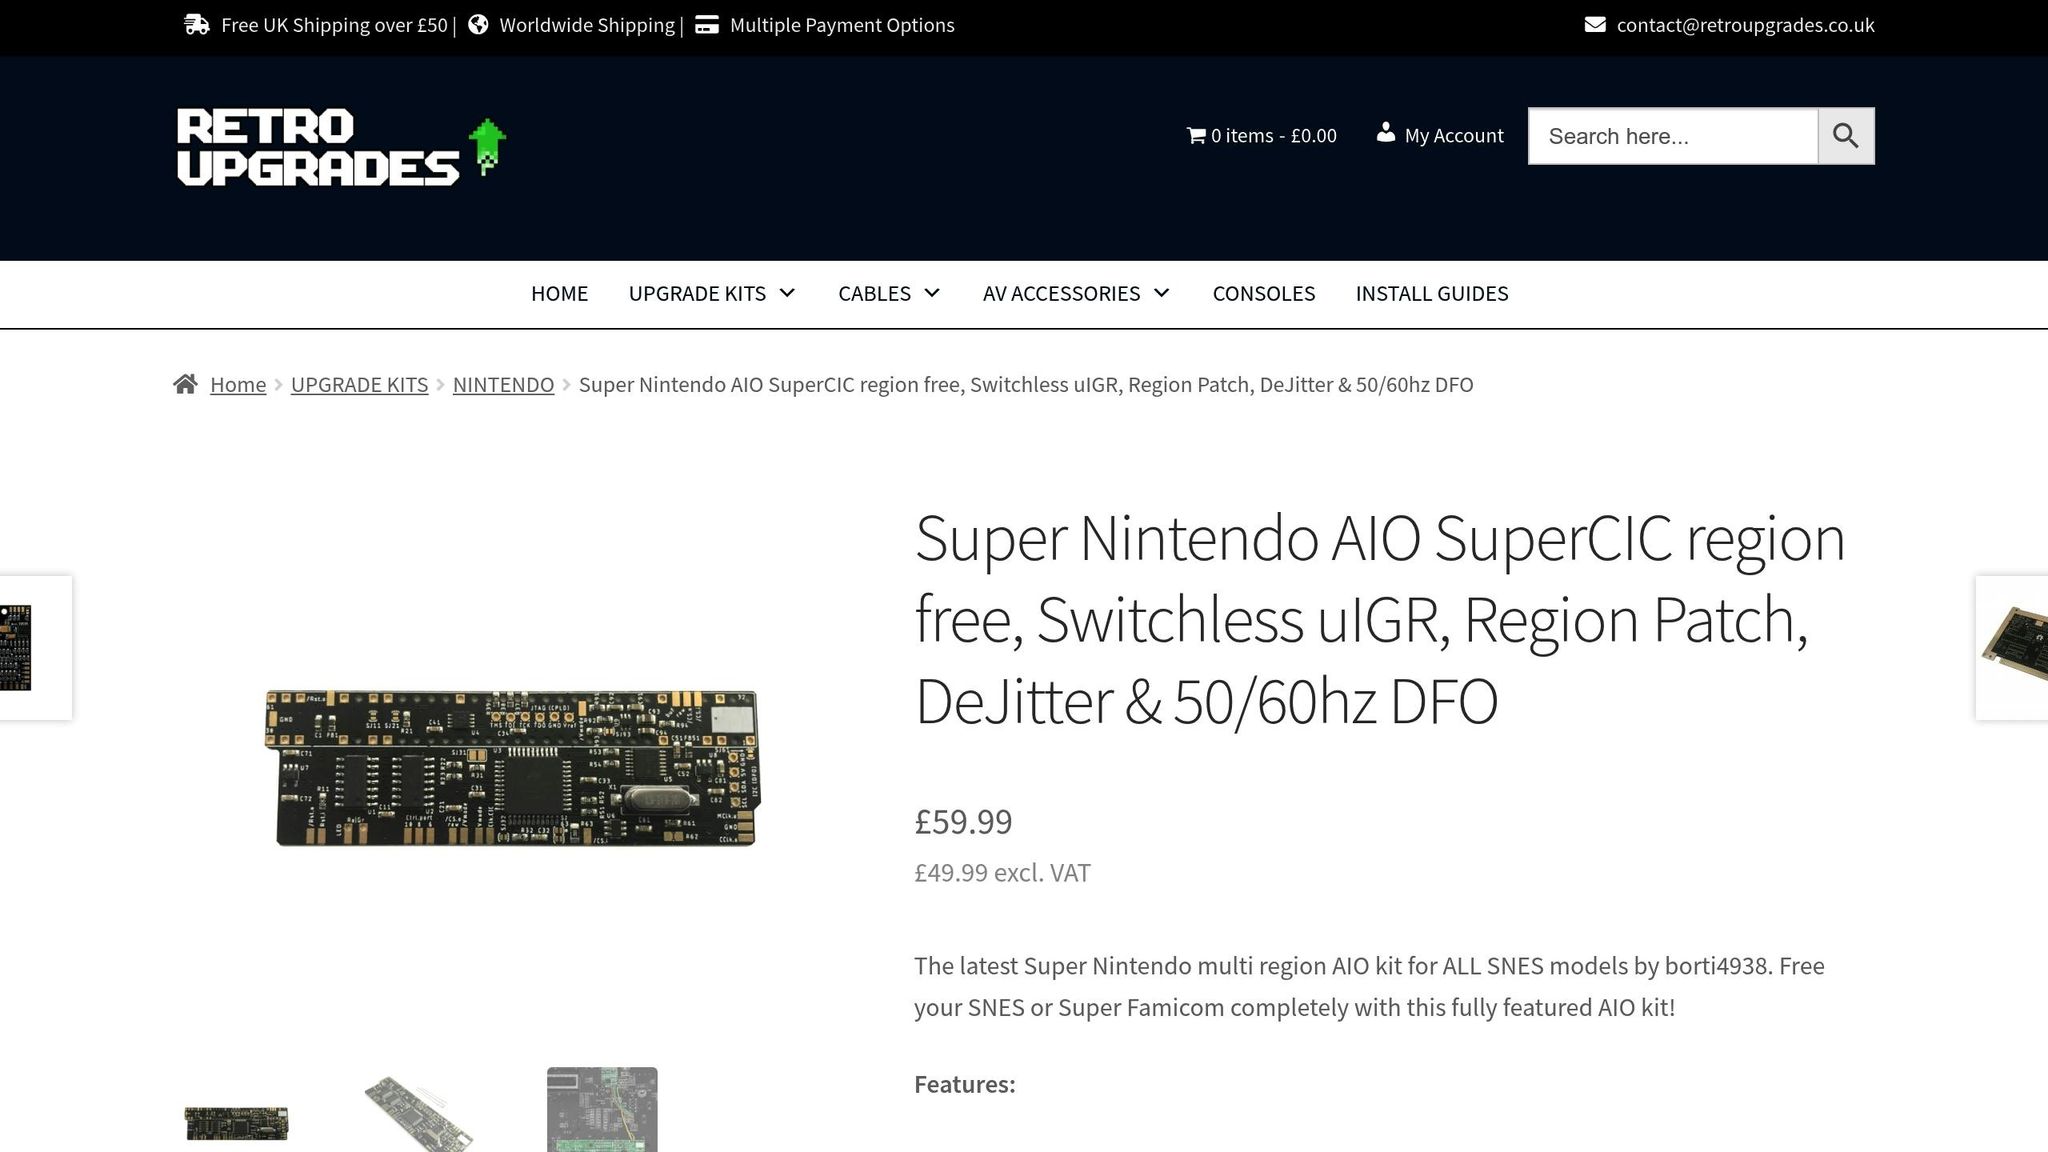
When it comes to enhancing your SNES experience, the Multi AIO Board is a game-changer. Designed by borti4938, this compact PCB combines multiple modifications into one sleek solution. It doesn't just bypass region locks - it takes things further by integrating SuperCIC, uIGR (Universal In-Game Reset), Region Patch, DeJitter, and a Dual Frequency Oscillator (DFO) into a single board that fits neatly under the cartridge slot. This approach steps beyond cartridge-level mods by embedding advanced features directly onto the board.
The pricing for the Multi AIO Board varies depending on the vendor. It’s compatible with all SNES models, including both 1-chip and 3-chip revisions, making it a more flexible choice than the PicoCIC for various setups.
One standout feature is its Region Patch, which overrides the $213F register (bit 4) to bypass a game’s region verification. This makes it especially useful for custom cartridge development. Additionally, the board supports a "Pairmode" feature when used with flashcarts like the SD2SNES. This allows the console to automatically adjust region settings and LED indicators based on the loaded ROM.
Why the Multi AIO Board Stands Out
The board’s DeJitter functionality addresses a specific issue with NTSC SNES consoles: the shorter scanline in the non-visible area, which can cause sync problems with modern scalers like the OSSC or Framemeister. By pausing the clock for a few cycles, DeJitter eliminates this issue, ensuring smooth operation. It provides a de-jittered master clock of approximately 21.477 MHz for NTSC mode and 17.734 MHz for PAL mode on 1-chip models.
The Dual Frequency Oscillator (DFO) works alongside a CPLD to seamlessly switch between 50Hz and 60Hz video modes, ensuring accurate signal timing across regions. Meanwhile, the uIGR feature allows users to switch regions or reset the console using controller inputs. For example, pressing L + R + Select + A forces 60Hz mode, while L + R + Select + Y switches to 50Hz. A dual-LED system indicates the current mode: green for 50Hz, red for 60Hz, and yellow or orange for Auto-Region.
Installing the Multi AIO Board is no small task. It requires lifting multiple pins on the PPU1, PPU2, or S-CPUN chips, removing original oscillators, and performing precise soldering work. The recommended PCB thickness is 0.8 mm to make installation smoother. You’ll need advanced soldering skills and tools like a temperature-controlled iron, flux, thin hookup wire (28-/30-AWG), and precision tools to get the job done.
Comparing the Multi AIO Board to Other CIC Options
The Multi AIO Board goes beyond what simpler CIC solutions offer. While options like the PicoCIC focus on basic region unlocking and the SuperCIC adds limited reset functionality, the Multi AIO Board delivers a full suite of advanced features.
Here’s how it stacks up:
| Feature | SuperCIC (Standalone) | PicoCIC | SNES Multi AIO Board |
|---|---|---|---|
| Region-Free | Yes | Yes | Yes |
| DeJitter Support | No | No | Yes (Integrated) |
| DFO (Clock Correction) | No | No | Yes (Integrated) |
| Region Patching | No | No | Yes (Overrides $213F) |
| Console Compatibility | All models | All except 1-chip | All models (1-chip & 3-chip) |
| Installation Complexity | Moderate | Simple | Advanced (requires pin lifting) |
| Controller Shortcuts | Basic/Optional | No (Reset button only) | Yes (Advanced uIGR) |
For users with modern scalers like the OSSC or Framemeister, the DeJitter feature alone makes the Multi AIO Board worth the investment, even with its more challenging installation process. And if you encounter flickering on composite or S-Video signals, you can disable DeJitter via jumper SJ31. For custom cartridge projects where precise region control and flawless video output are essential, this board offers capabilities that far surpass standalone CIC replacements.
Installing CIC Chips in Custom Cartridges
Required Tools and Setup
To install a SuperCIC chip in custom cartridges, you'll need a few essential tools. Start with a 4.5mm gamebit screwdriver to open the cartridge shell, along with a temperature-controlled soldering iron, flux, leaded solder, and either a desoldering pump or braid. You'll also need 28/30 AWG hookup wire and a universal PIC programmer - like a PicKit2, Top3000, or Willem - for programming the chip.
For this project, the PIC12F629 microcontroller is the go-to replacement for cartridge-side SuperCIC installations. Make sure to program it with the supercic-key.hex file. Keep in mind that the supercic-lock.hex file is specifically for console modifications, not cartridges. If you're using a DIP (Dual In-line Package) version of the chip, you may need to trim the pins slightly to ensure it fits inside the cartridge shell.
Removing the original CIC chip can be tricky. If desoldering proves difficult, you can cut the pins at their base before removing the chip. Once the replacement SuperCIC is wired and installed, secure it in place using hot glue or electrical tape to prevent it from shifting. For cartridges that include special chips - like the SA-1 found in games such as Super Mario RPG and Kirby Super Star - it's crucial to connect the SuperCIC to pins 2, 8, 9, 10, and 11. These connections are necessary for the security handshake required to boot these games.
Testing your setup is straightforward but requires an understanding of how the SuperCIC operates. When you power on the cartridge for the first time, it may not boot right away. Press the reset button to cycle through the region protocols until the chip matches your console's internal CIC. Once that's done, you can evaluate the replacement options to determine the best fit for your custom cartridge.
CIC Replacement Options Overview
When it comes to replacing CIC chips in custom cartridges, there are several approaches to consider, each with its own pros and cons. Here's a breakdown of the main options:
- Disabling the console's CIC: This involves lifting Pin 4 on the console's CIC chip. It's a simple and quick method but won't work with games that use special chips like the SA-1.
- Installing a SuperCIC with a PIC12F629: This option requires a PIC programmer and moderate soldering skills, but it enables region-free booting on most consoles.
- Using a Multi AIO Board: This advanced solution provides 50/60Hz switching and broad compatibility. However, it demands expert soldering skills and detailed mainboard mapping.
If DIY projects aren't your thing or you'd prefer a professional finish, BJ's Game Vault offers custom cartridge services. Their team specializes in creating high-quality cartridges for rare ROM hacks, patched translations, and homebrew projects. These custom cartridges are fully compatible with original hardware and include proper region-free CIC implementation. By opting for their services, you can skip the hassle of sourcing components, programming chips, and troubleshooting installation issues.
Conclusion
Each CIC replacement option caters to different console versions and user expertise, making it easier to find the right fit for your needs. The PicoCIC, priced at approximately $12.26 USD for standard 2‑chip or 3‑chip systems, is a cost-effective choice. Its simple setup with minimal wiring makes it a great starting point for beginners, though it doesn’t work with 1‑chip SNES models.
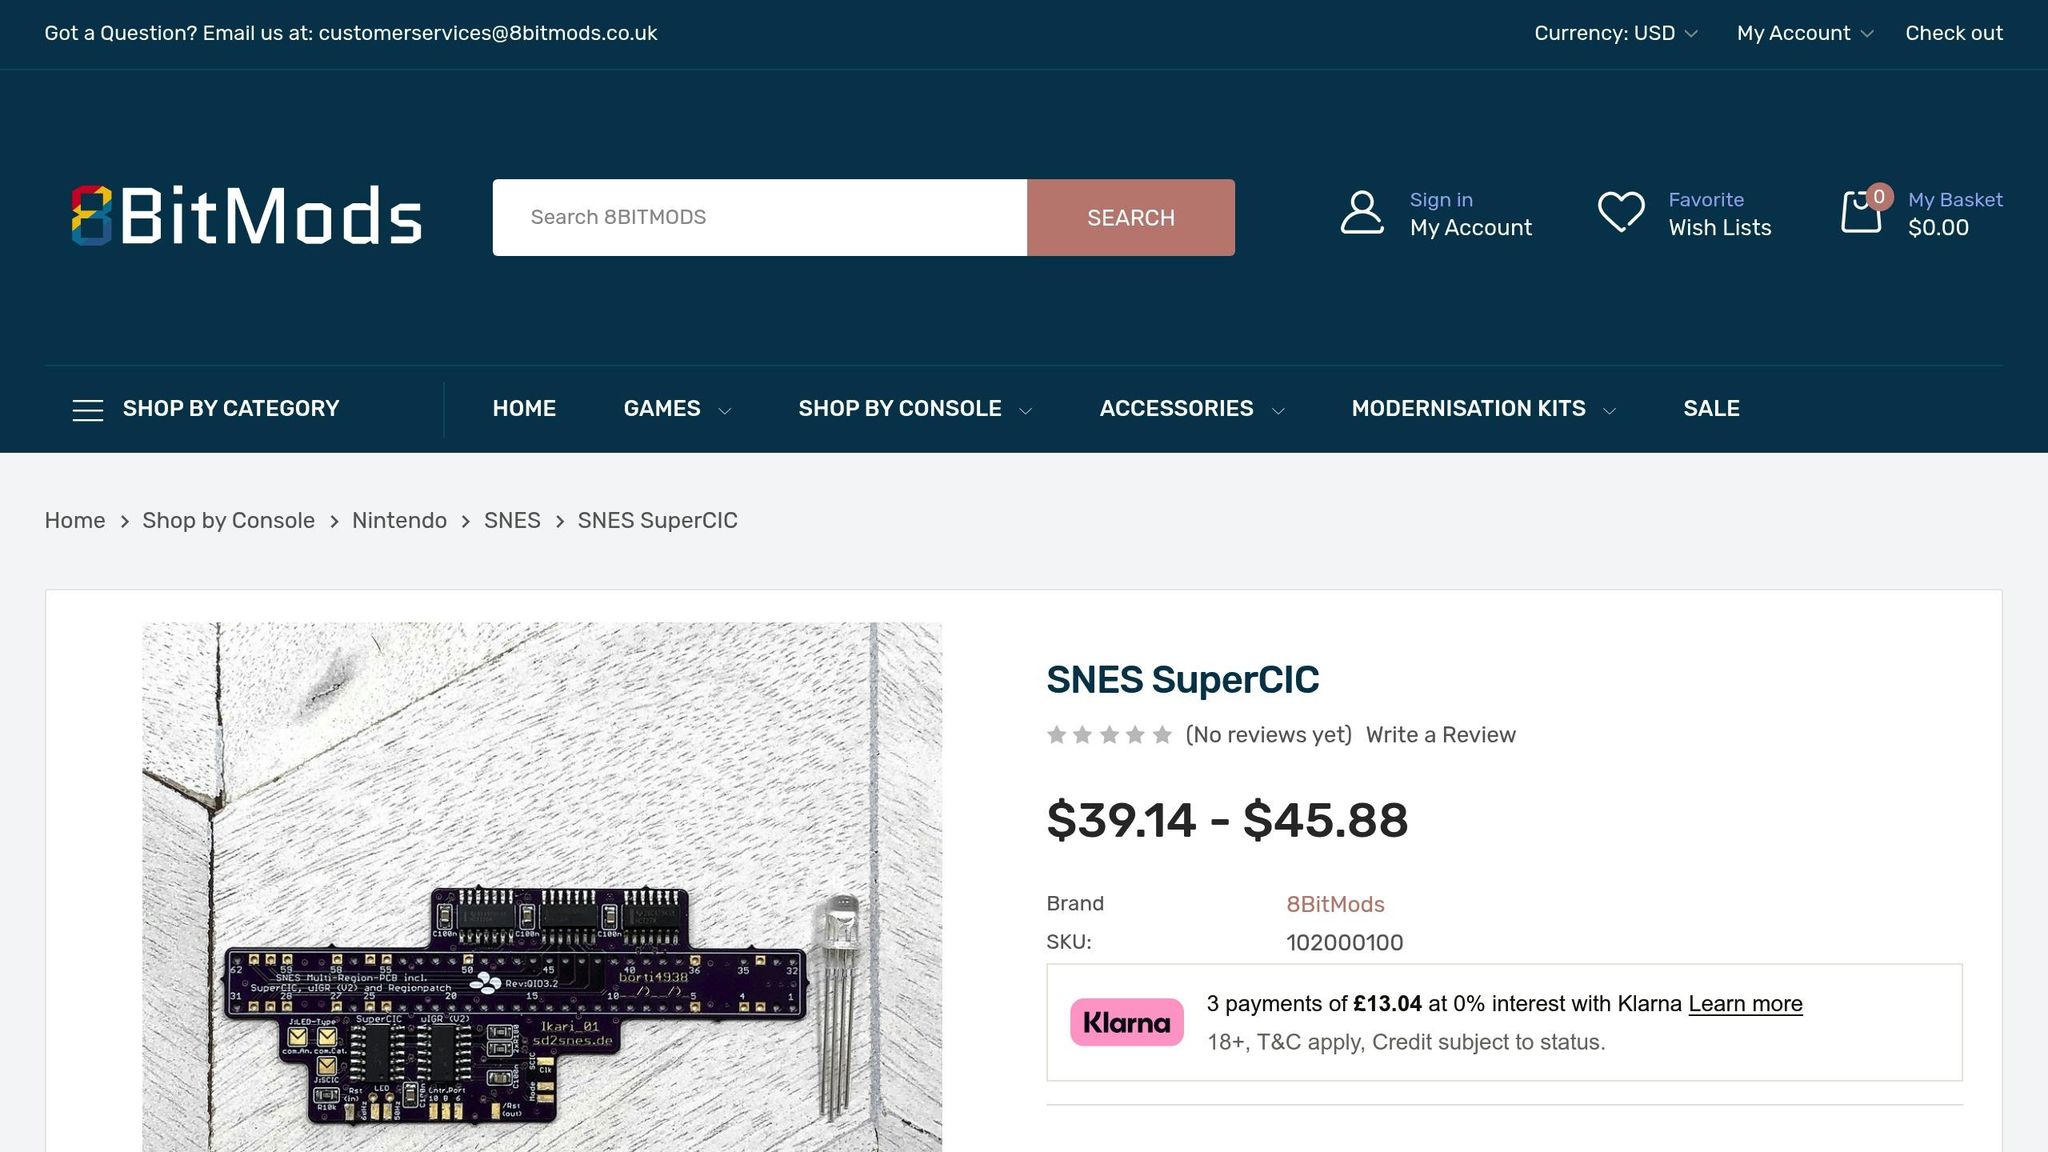
The SuperCIC, on the other hand, is a more versatile option. It’s fully compatible with all console revisions and includes advanced features like support for the SA‑1 chip. With prices ranging from $32.37 to $37.95 USD, the SuperCIC offers a solid balance of functionality and ease of installation, thanks to its switchless design and built-in in-game reset (uIGR) feature.
For those looking for top-tier performance, the SNES Multi AIO board stands out. Priced between $63 and $89 USD, it combines SuperCIC capabilities with a Dual Frequency Oscillator (DFO) and DeJitter modifications. These enhancements address timing issues and improve video signal stability, making it ideal for modern upscalers like the OSSC or Framemeister. However, its installation requires advanced soldering skills and intricate pin-lifting techniques, which might be daunting for less experienced users.
If you’d rather avoid the technical challenges, BJ's Game Vault offers a hassle-free alternative. They specialize in custom cartridges featuring reliable region-free CIC solutions. Whether it’s rare ROM hacks, patched translations, or homebrew projects, their cartridges are fully compatible with original hardware, ensuring smooth region-free gameplay. These professionally crafted options highlight their commitment to delivering high-quality, user-friendly solutions for retro gaming enthusiasts.
FAQs
What are the differences between SuperCIC, PicoCIC, and the SNES Multi AIO Board for region-free SNES mods?
The SuperCIC, PicoCIC, and SNES Multi AIO Board are three popular ways to make your SNES console region-free. Each option comes with its own set of features, sizes, and price points.
- SuperCIC: This mod replaces the original lockout chip, enabling region switching by simply holding the reset button. It’s relatively easy to install, requiring just a few solder points, and typically costs between $36 and $42. For those looking to improve NTSC video quality, an upgraded version is available, featuring a dual-frequency oscillator and a de-jitter circuit.
- PicoCIC: If you’re short on space or working with a tight budget, the PicoCIC is a great alternative. It delivers the same region-free functionality as the SuperCIC but comes in a smaller, more compact design. It’s also the most affordable option, usually priced at around $22.
- SNES Multi AIO Board: For those wanting the ultimate upgrade, the SNES Multi AIO Board is packed with features. It combines the SuperCIC with extras like video frequency switching, a de-jitter circuit, controller input detection, and even a software-based region patch. This all-in-one solution is priced at approximately $65.
Whether you want a reliable and affordable mod, a space-saving option, or the most advanced upgrade, there’s a solution to fit your needs and budget.
Can I replace the SNES CIC chip without knowing how to solder?
Replacing the CIC chip in an SNES cartridge isn't exactly a beginner-friendly task - it requires some soldering know-how. The process involves carefully removing the original chip and installing the new one. If you're not confident in your soldering skills, it's a good idea to ask someone experienced for help. This way, you can avoid accidentally damaging your cartridge.
What is the best CIC replacement chip for 1-chip SNES models?
The SuperCIC is a perfect replacement chip for 1-chip SNES models. It works effortlessly with both 1-chip and 3-chip consoles, providing complete region-free capabilities. This makes it a dependable choice for upgrading your SNES gaming setup.